How to make a Plastic Pumpkin look like cement
We’re going to use a special painting technique to make any plastic pumpkin look like it’s cement.
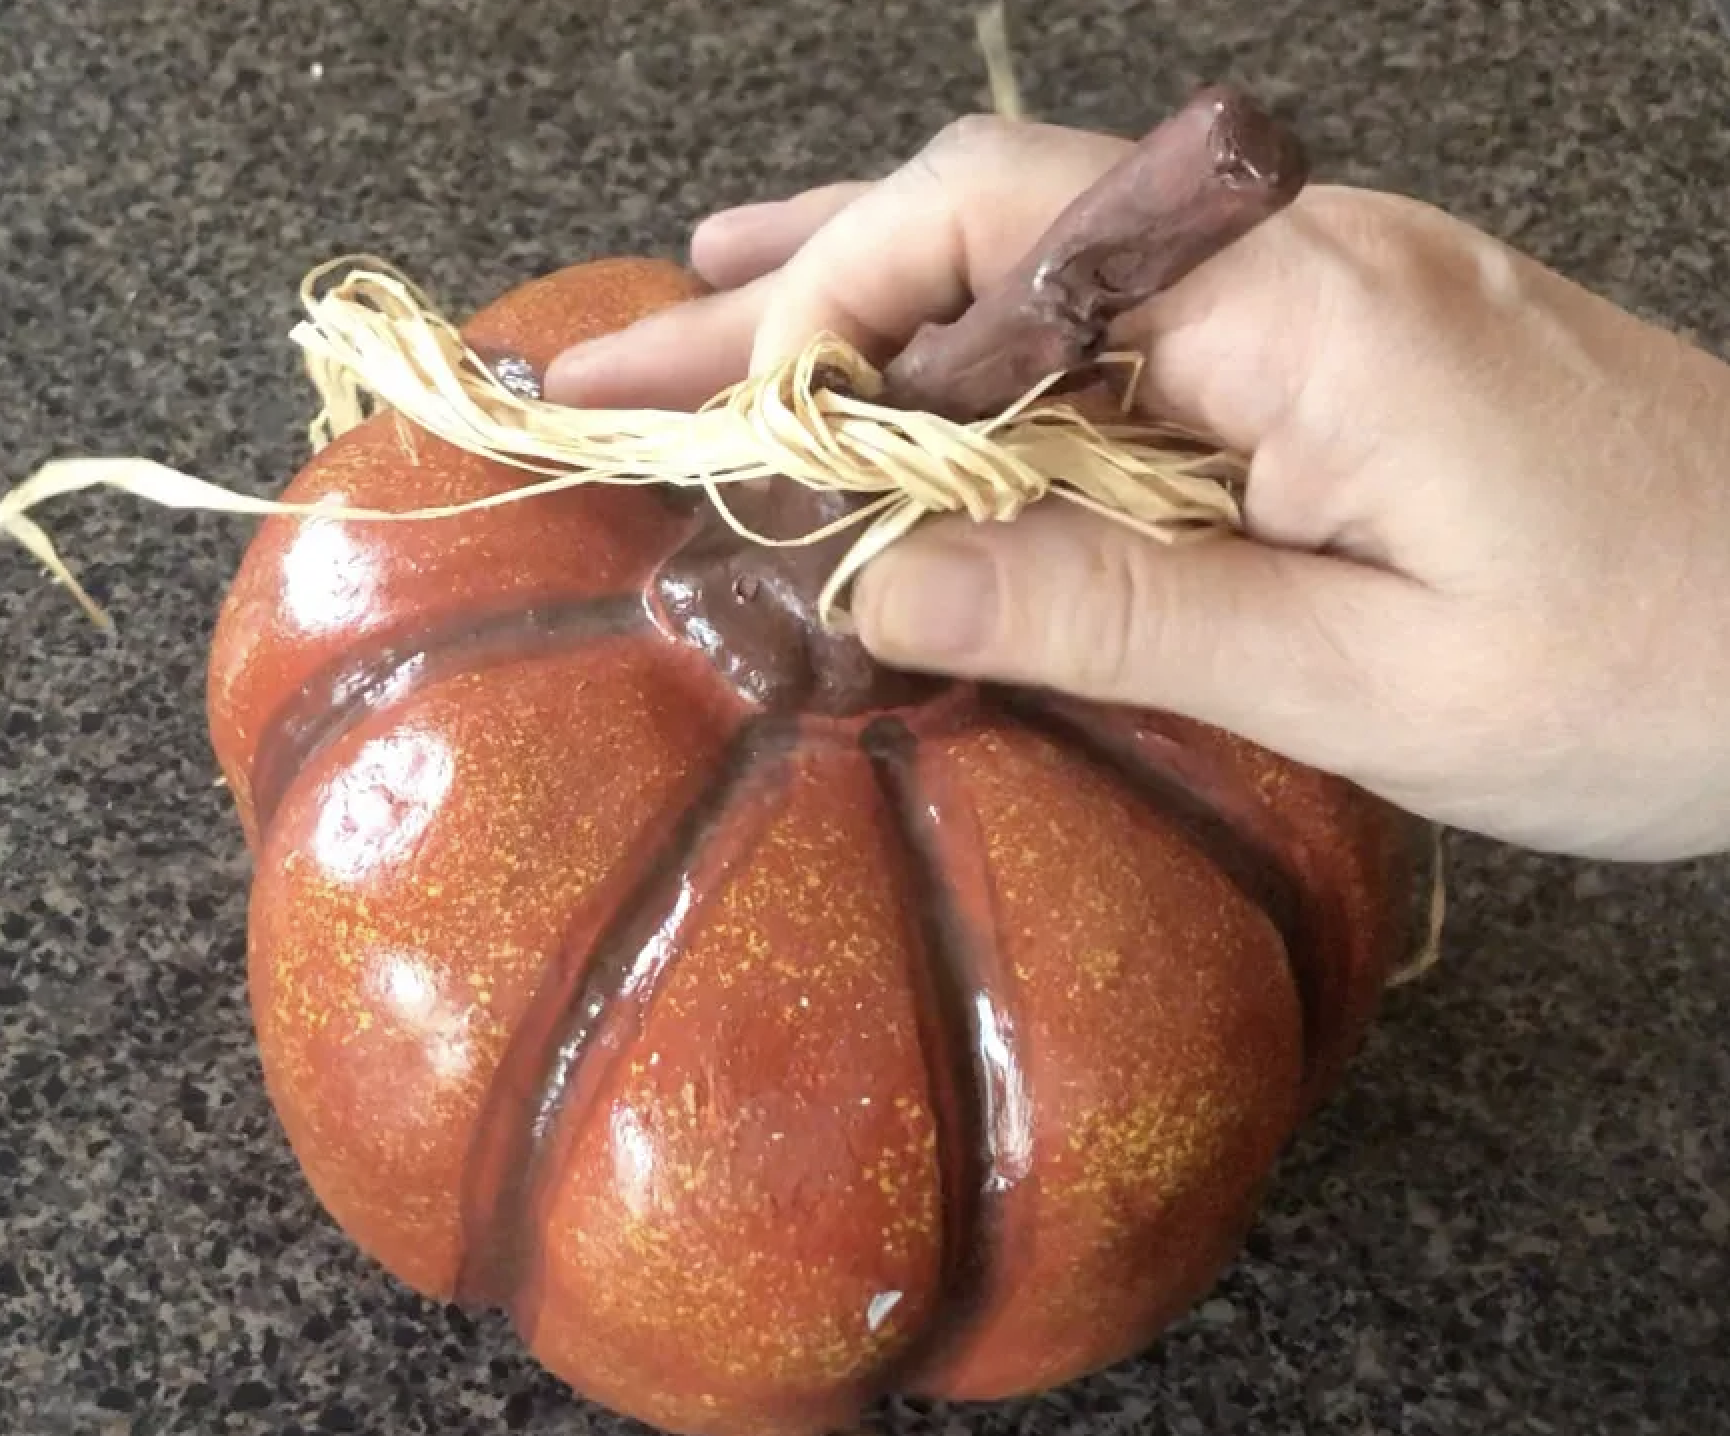
First, you want to pick up a pumpkin from either the dollar store or a thrift store. I bought this one at the thrift store.
Plastic pumpkin I found at the Thrift Store for $1.99.
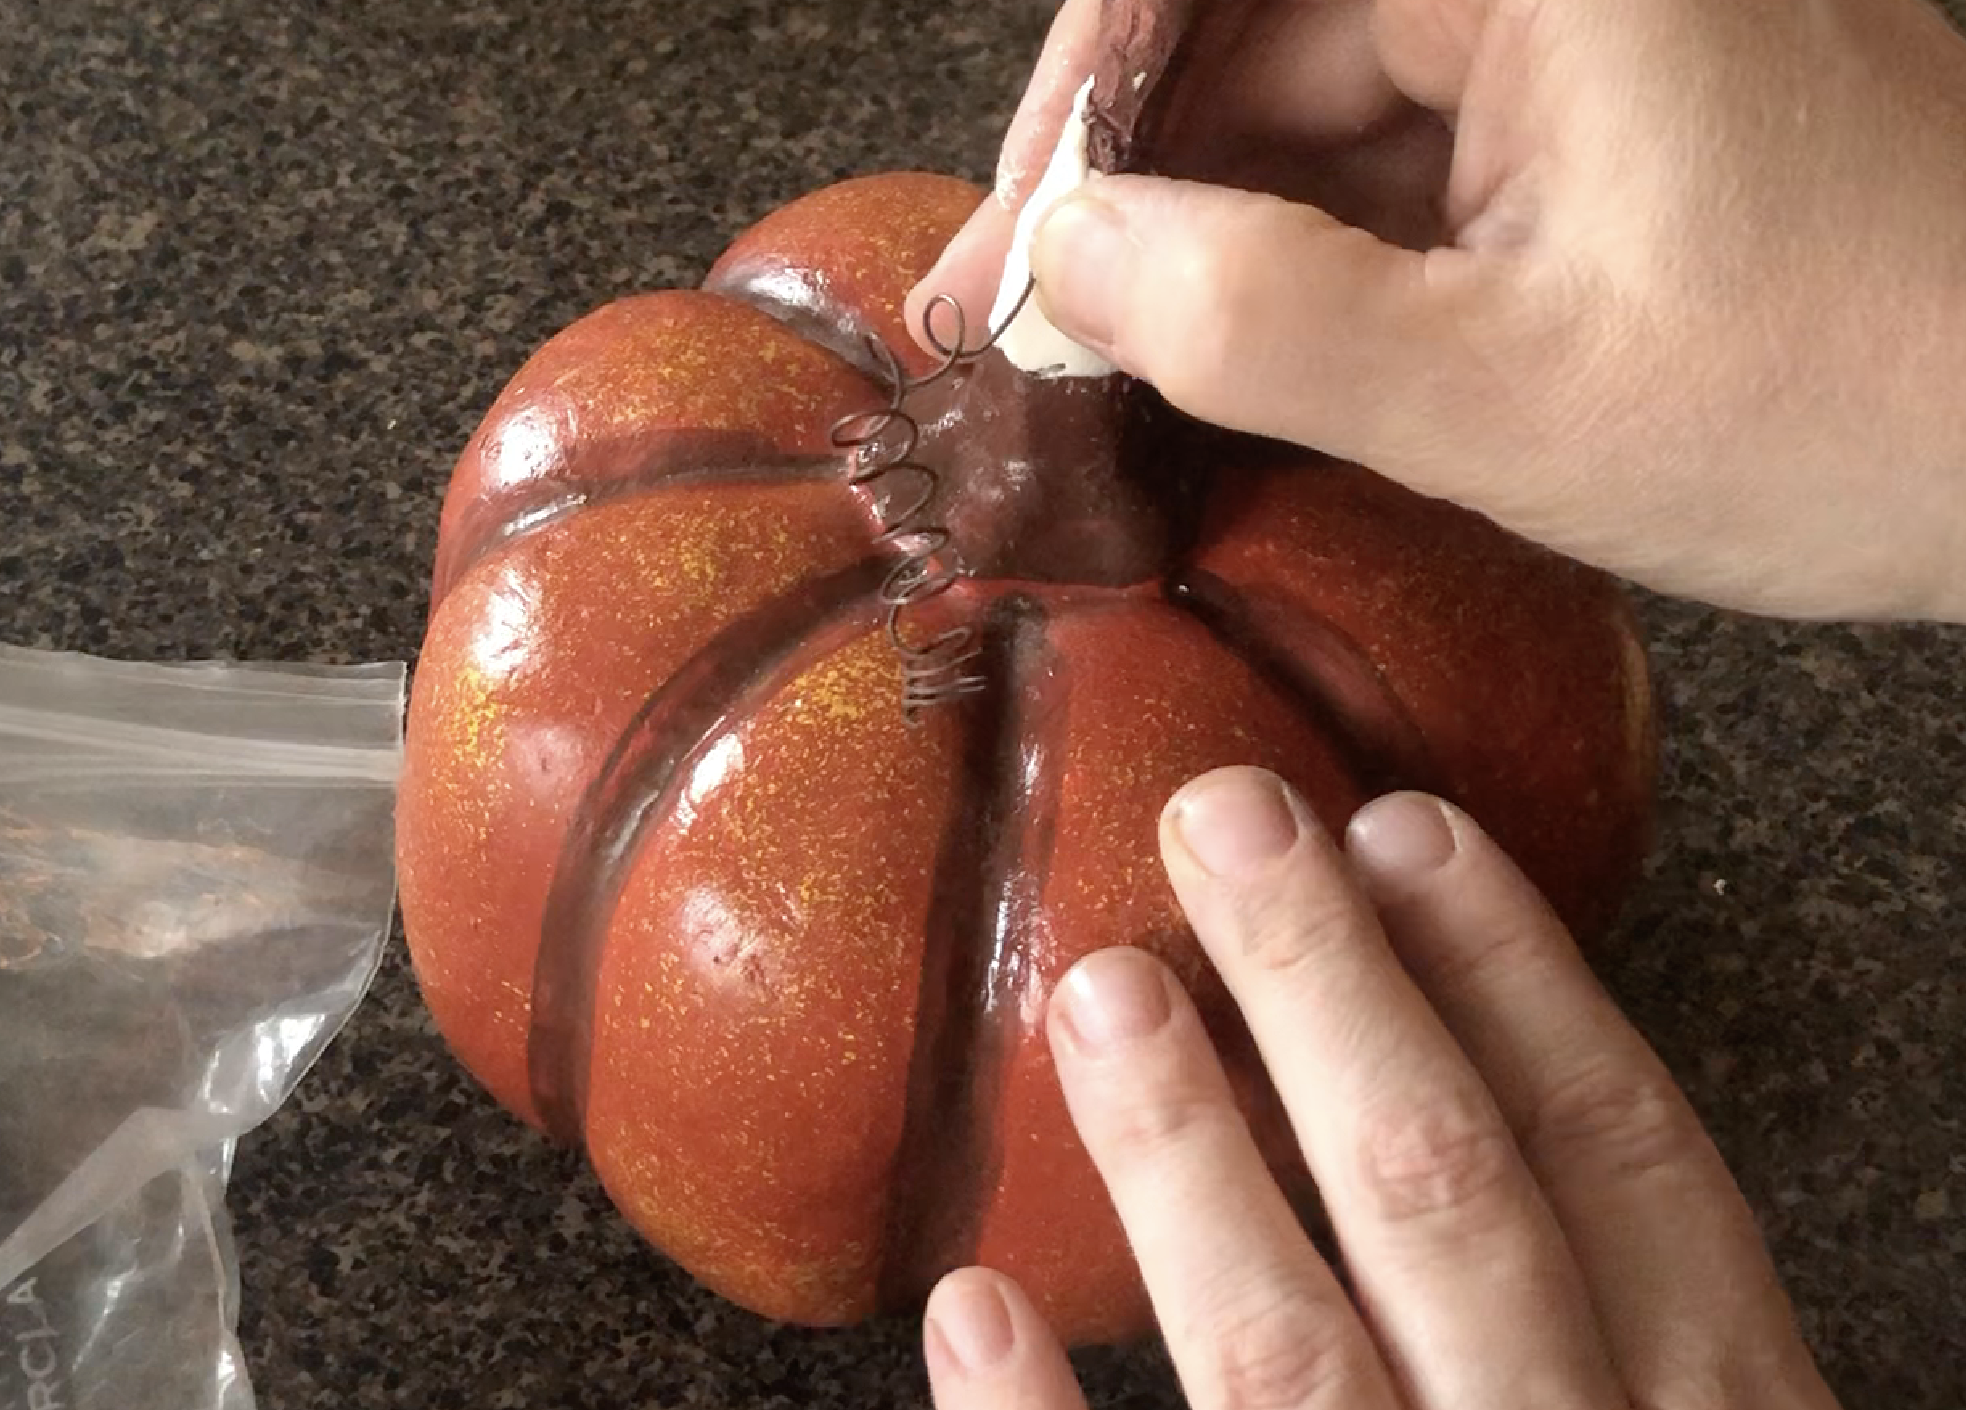
After I removed the raffia…I found out that the stem had a piece missing and that the raffia had actually been hiding the damage. I took some Creative Paper Clay and molded it over the stem to fill in the missing piece. I then let that dry.
I added some Creative Paper Clay over the stem to fill in what was missing.
Using some Ceramcoat Hippo Grey Acrylic paint…I painted the pumpkin grey.
Now, here’s where the magic comes in….we’re going to mix baking soda and hippo grey paint together in equal parts. Then, you are going to dab that on your pumpkin in different areas to give it a textured look.
Add equal parts of baking soda and paint.
Your pumpkin should look like this after applying the mixture.
After I got done applying this…I felt like the pumpkin was a little too dark, so I added some lighter gray on top. Later after that dried…I realized it was still too dark. It was much darker than I wanted it to be! (See photo below)
Painted pumpkin after it dried.
So, because I wanted to lighten it up a bit…I used some Annie Sloan French Linen chalk paint on it. I watered it down and did a wash on it.
Adding a Annie Sloan chalk paint wash in French Linen to light up the pumpkin a bit.
After it dried…it was absolutely PERFECT!!! Just look at the results!!!!
The pumpkin after it dried. It’s PERFECT! Just look at the texture and the color!
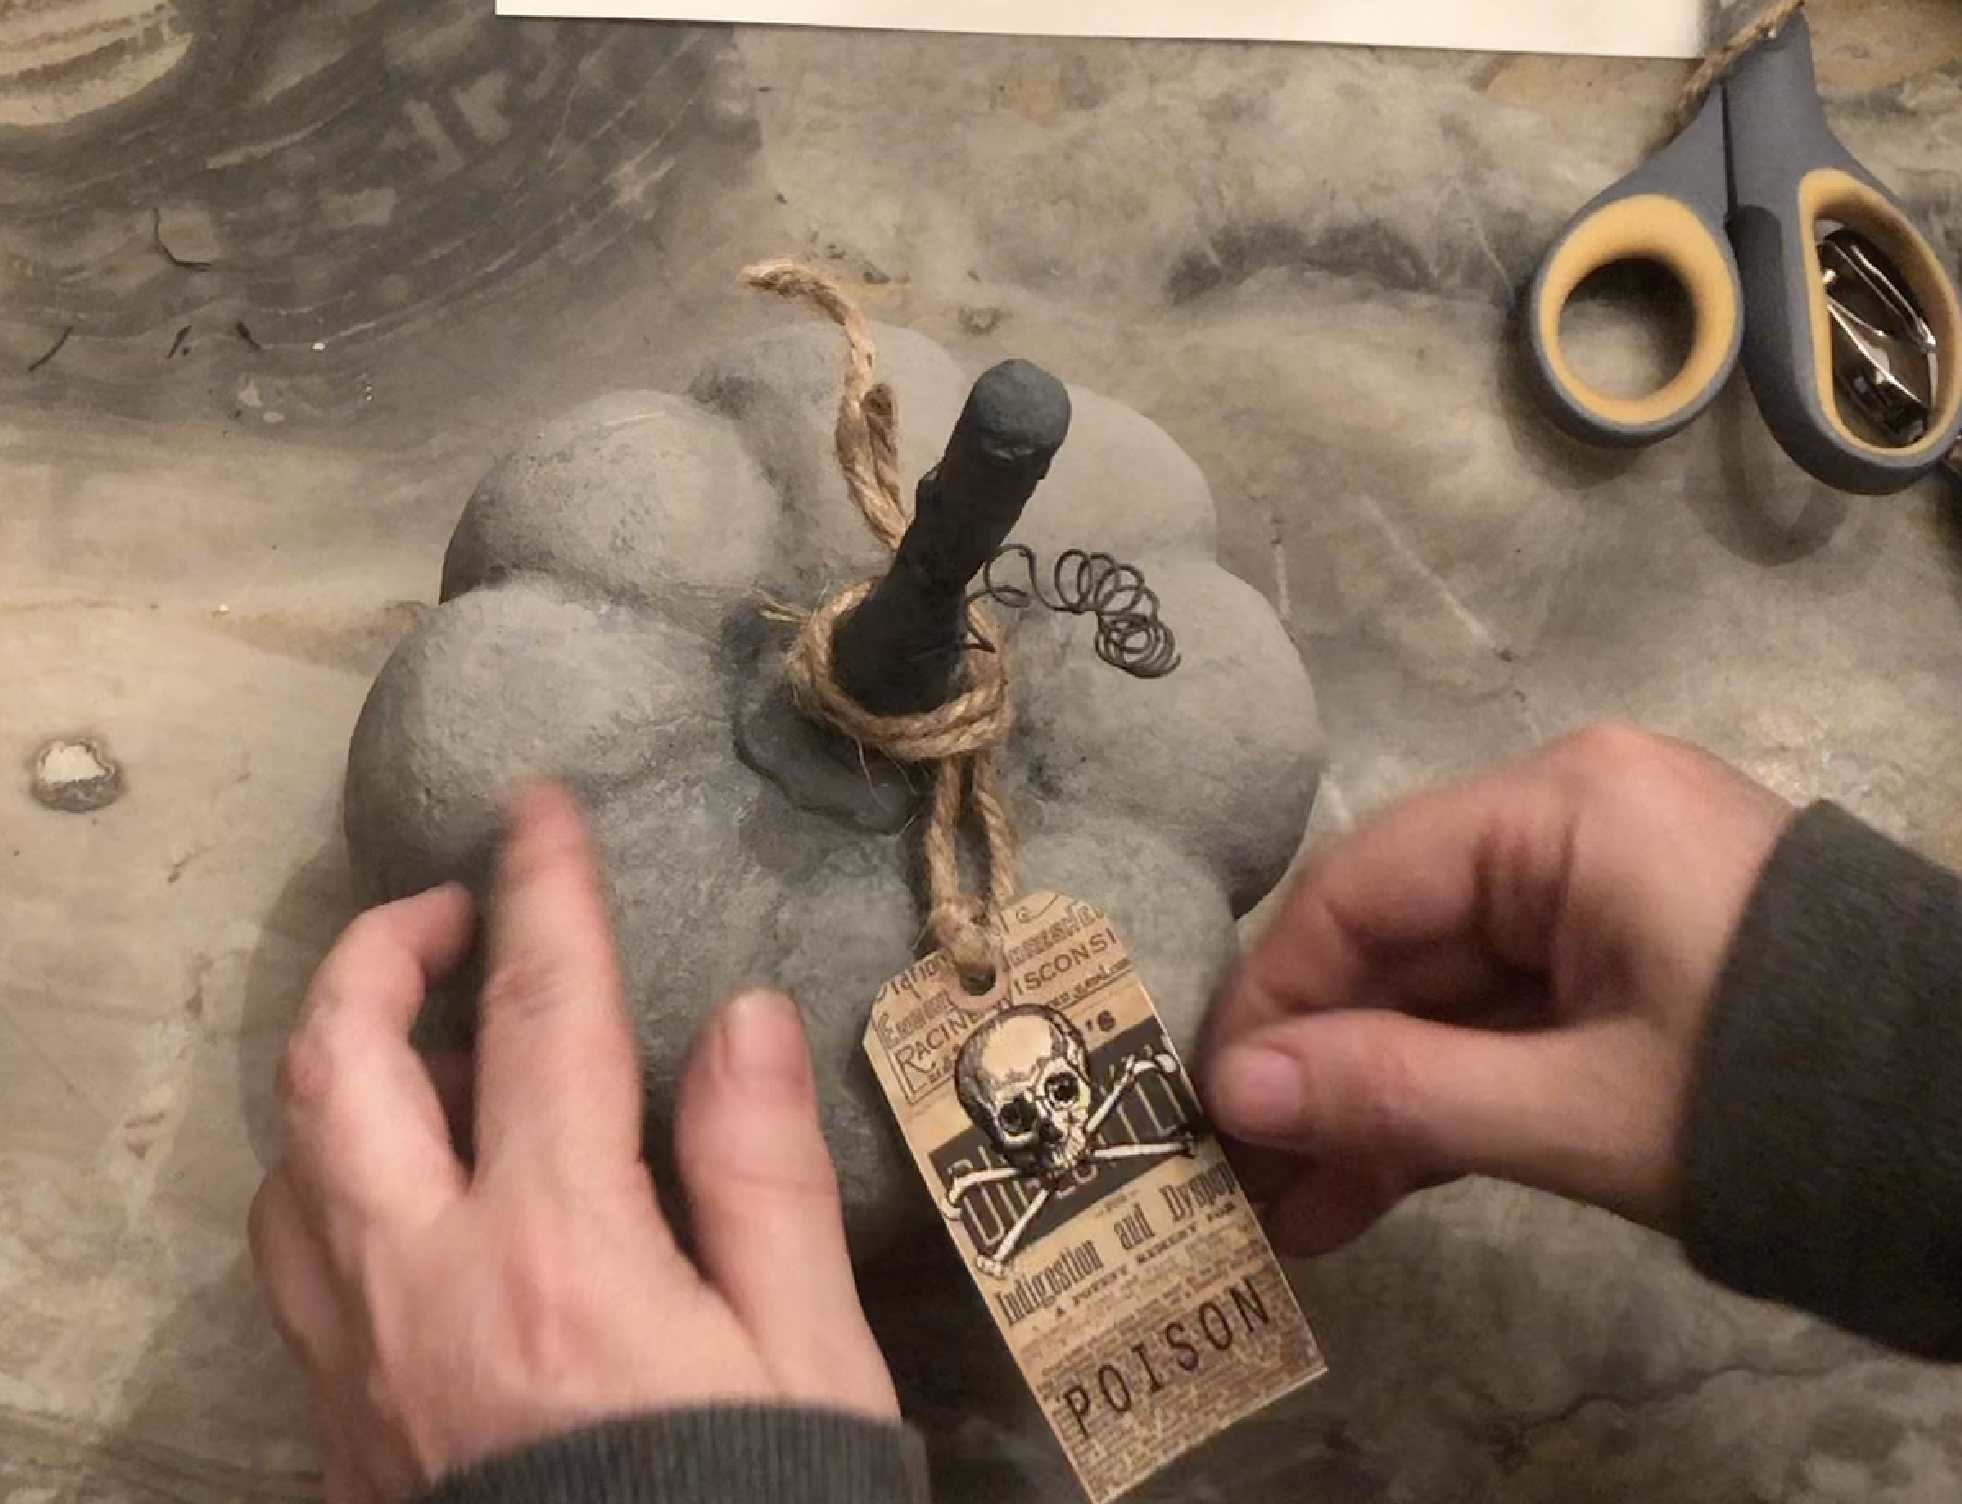
I then added a hang tag to it to give it a more finished look. I love how this came out! It’s hard to believe it’s the same plastic pumpkin I bought at the thrift store!
Add a Halloween Hang Tag for a more finished look.
The hang tag you see is available in my store. They are six different Halloween hang tags for $3.00. I also sell them on Etsy, as well.
To see the whole episode of 10 Halloween/Fall Projects, go to my YouTube channel: https://youtu.be/3rtyRMrp0No


