How to make a Pallet Board Tree
First, you want to gather up some pallet boards. They don’t have to be that long and you can even use leftover scraps from another project.
Next, you will need a longer piece of wood that measures about 1 1/2″wide by 19 1/2″ long. This is what your pallet boards will attach to. Then, using a smaller piece of pallet board for a base, you’re going to want to screw the two pieces together, like so.
You’ll want to pre-drill a hole, so that your wood doesn’t not crack when screwing the pieces together. I used a 3″ screw to screw the two pieces together.
NOTE: To make the head of the screw lay flush…go back in with a bigger drill bit (the size of your screw head), BEFORE screwing your pieces together, and slightly make an indention where the screw head will lie. Don’t go all the way down with it or else your screw will fall through. Do it just enough to sink the screw head in.
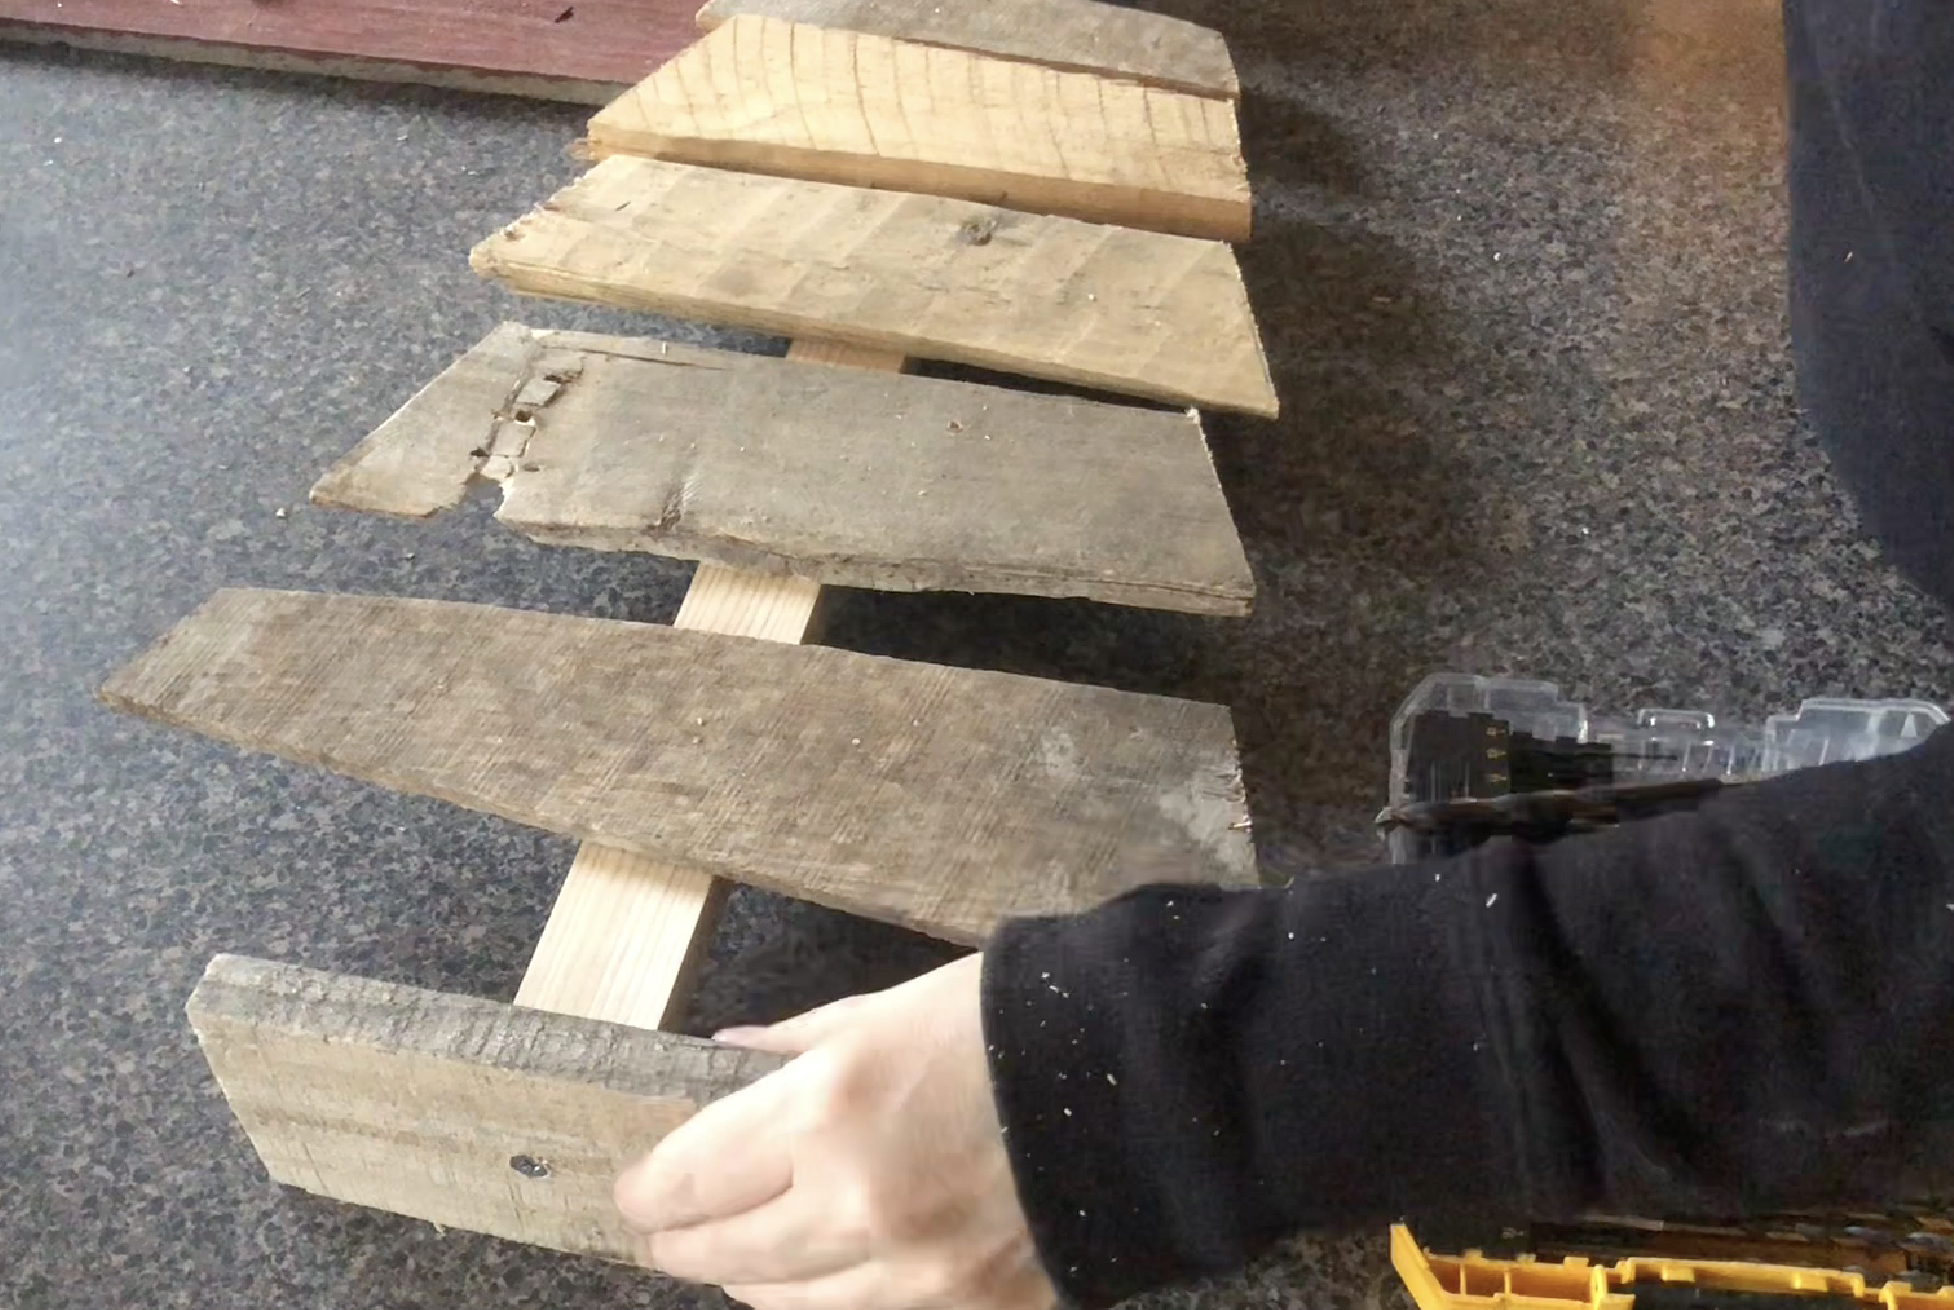
Now, line up your boards….bigger to smaller, working your way up.
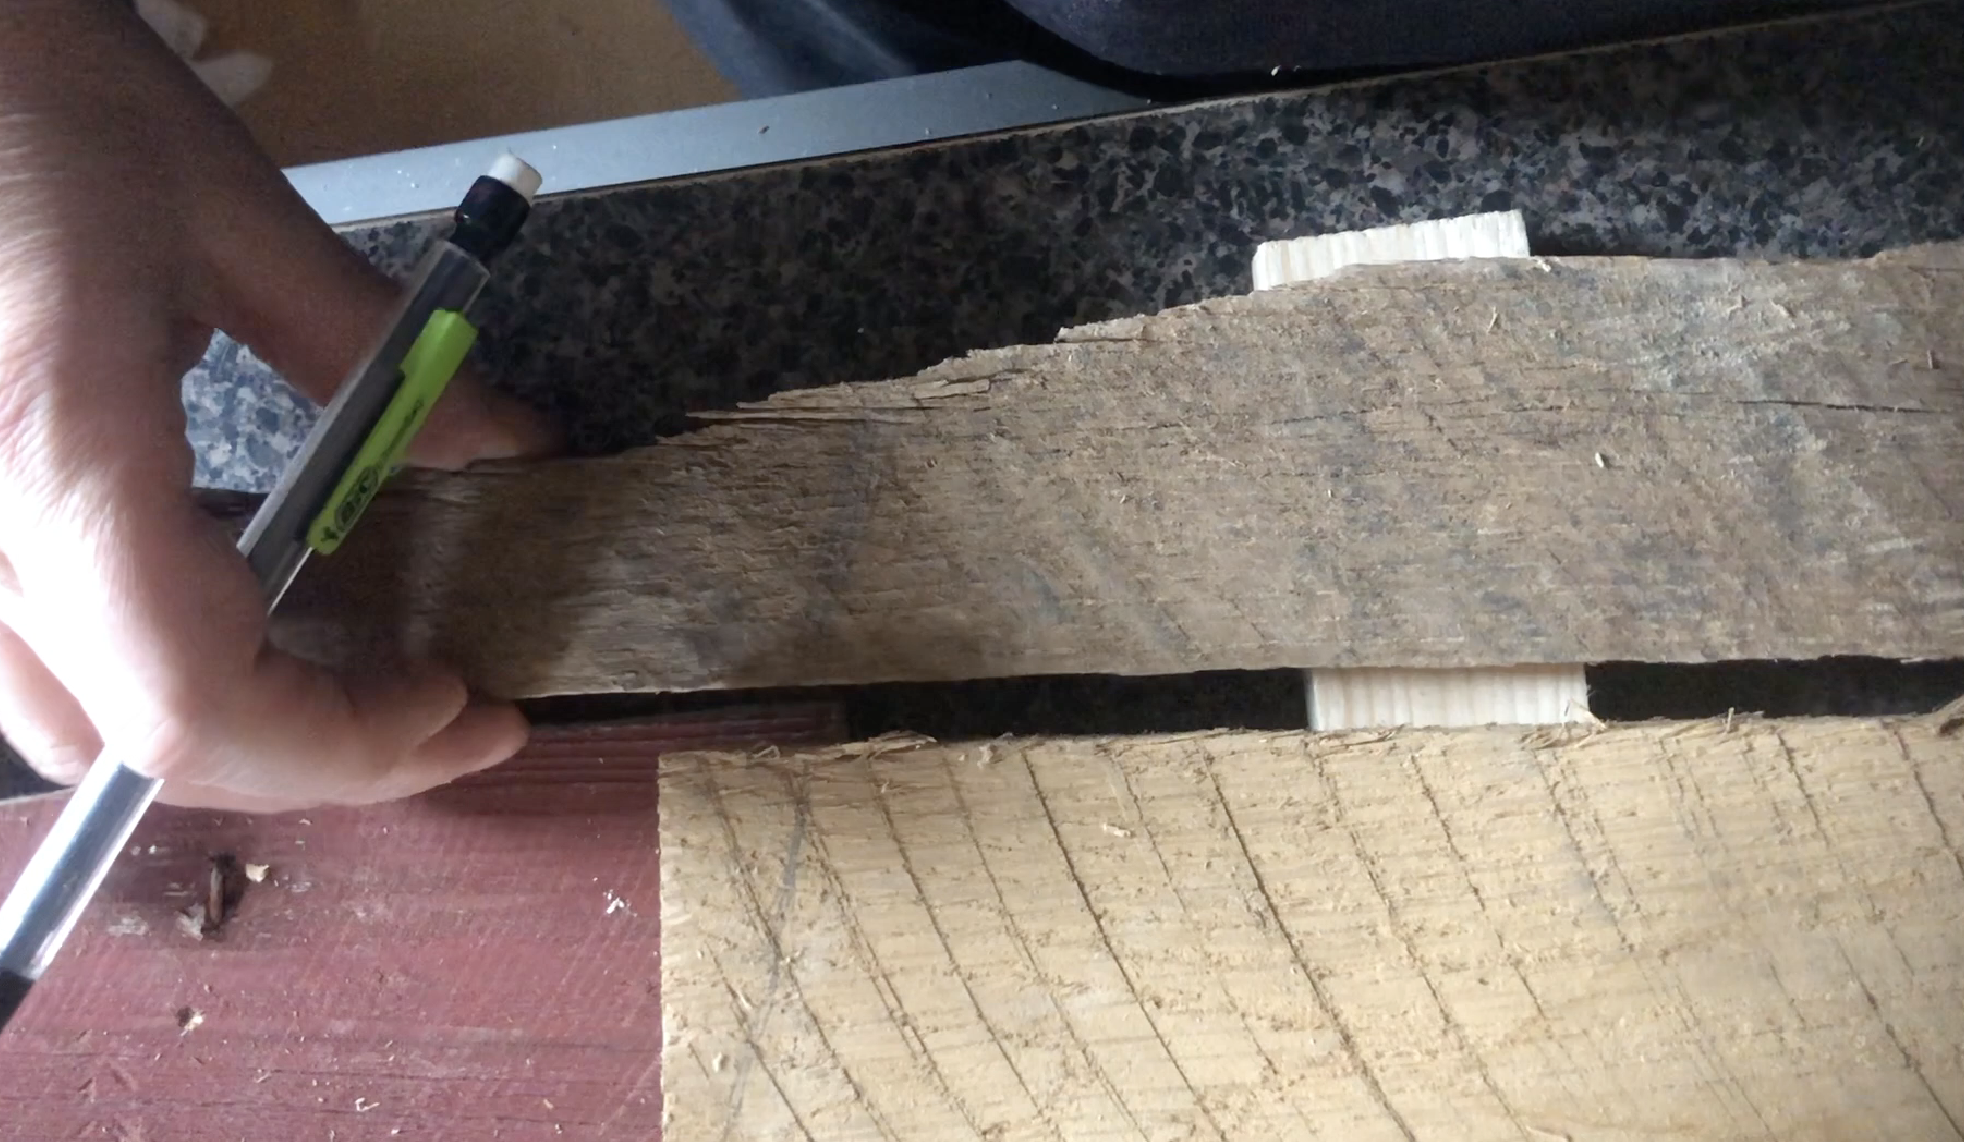
With a pencil, you’re going to want to mark the angle in which your board should be cut, making the boards smaller as you go up. This doesn’t have to be perfect, because we will be using an exact measurement on the miter saw.
See how the angle is getting smaller, as we get to the top? This is what you want to do. Mark them on each side.
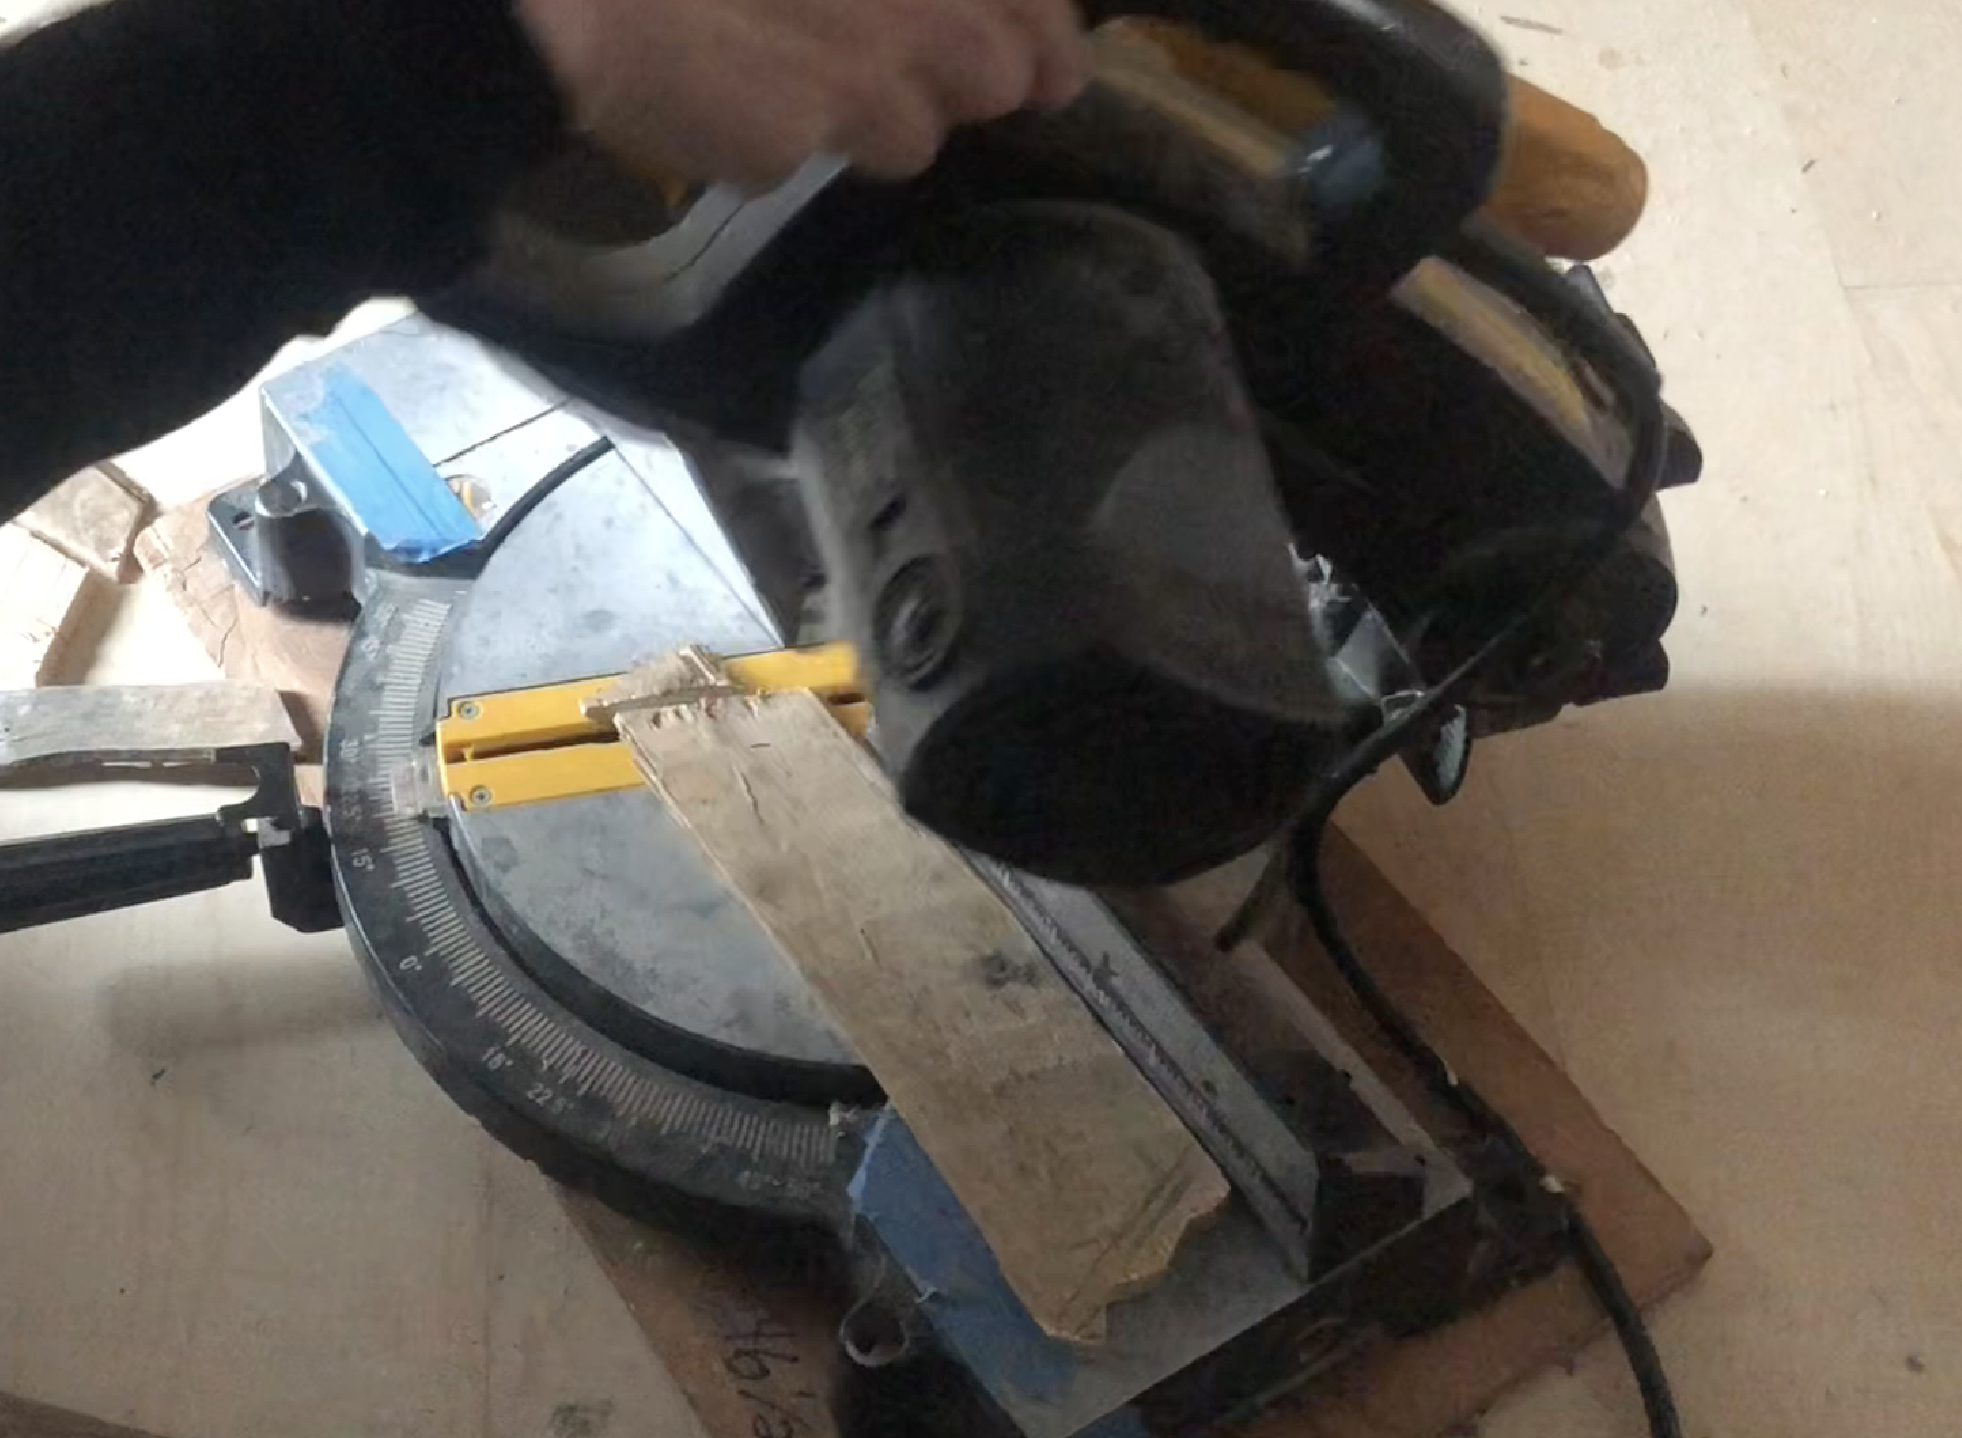
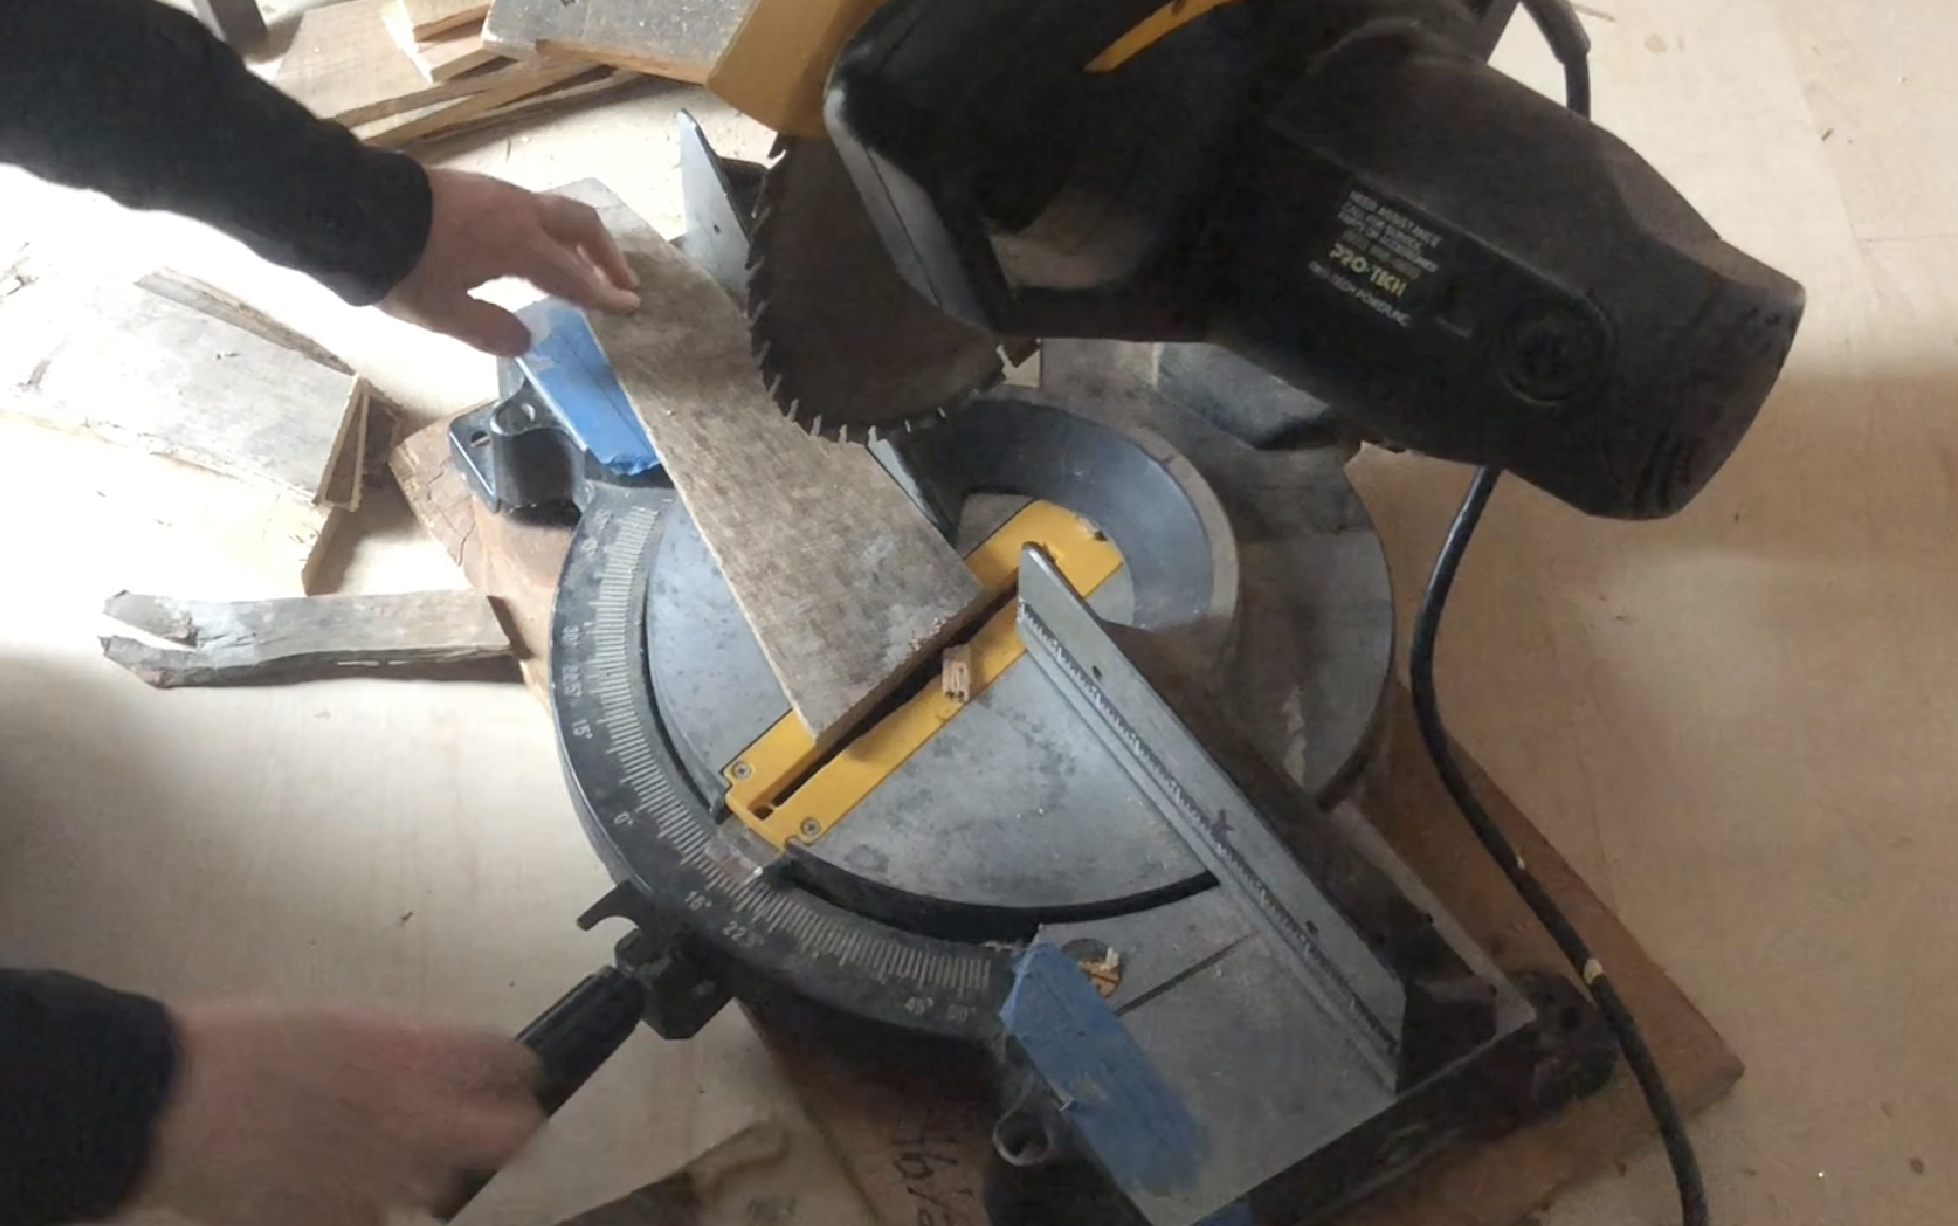
Now, it’s time to cut them. Set your miter saw at a 22.5 angle and cut your boards on an inward angle on each side. (See photo below for reference.)
The last board I cut at a 18 degree angle, just because it was a weird board and I thought it would look better cut like this instead.
Now, take your pallet boards and line them back up on top of the base and stick, in which you’ll be nailing them to. Make sure they look good and once they look good to you….nail them in place.
Using a nail gun…put one or two nails to hold the pallet boards in place.
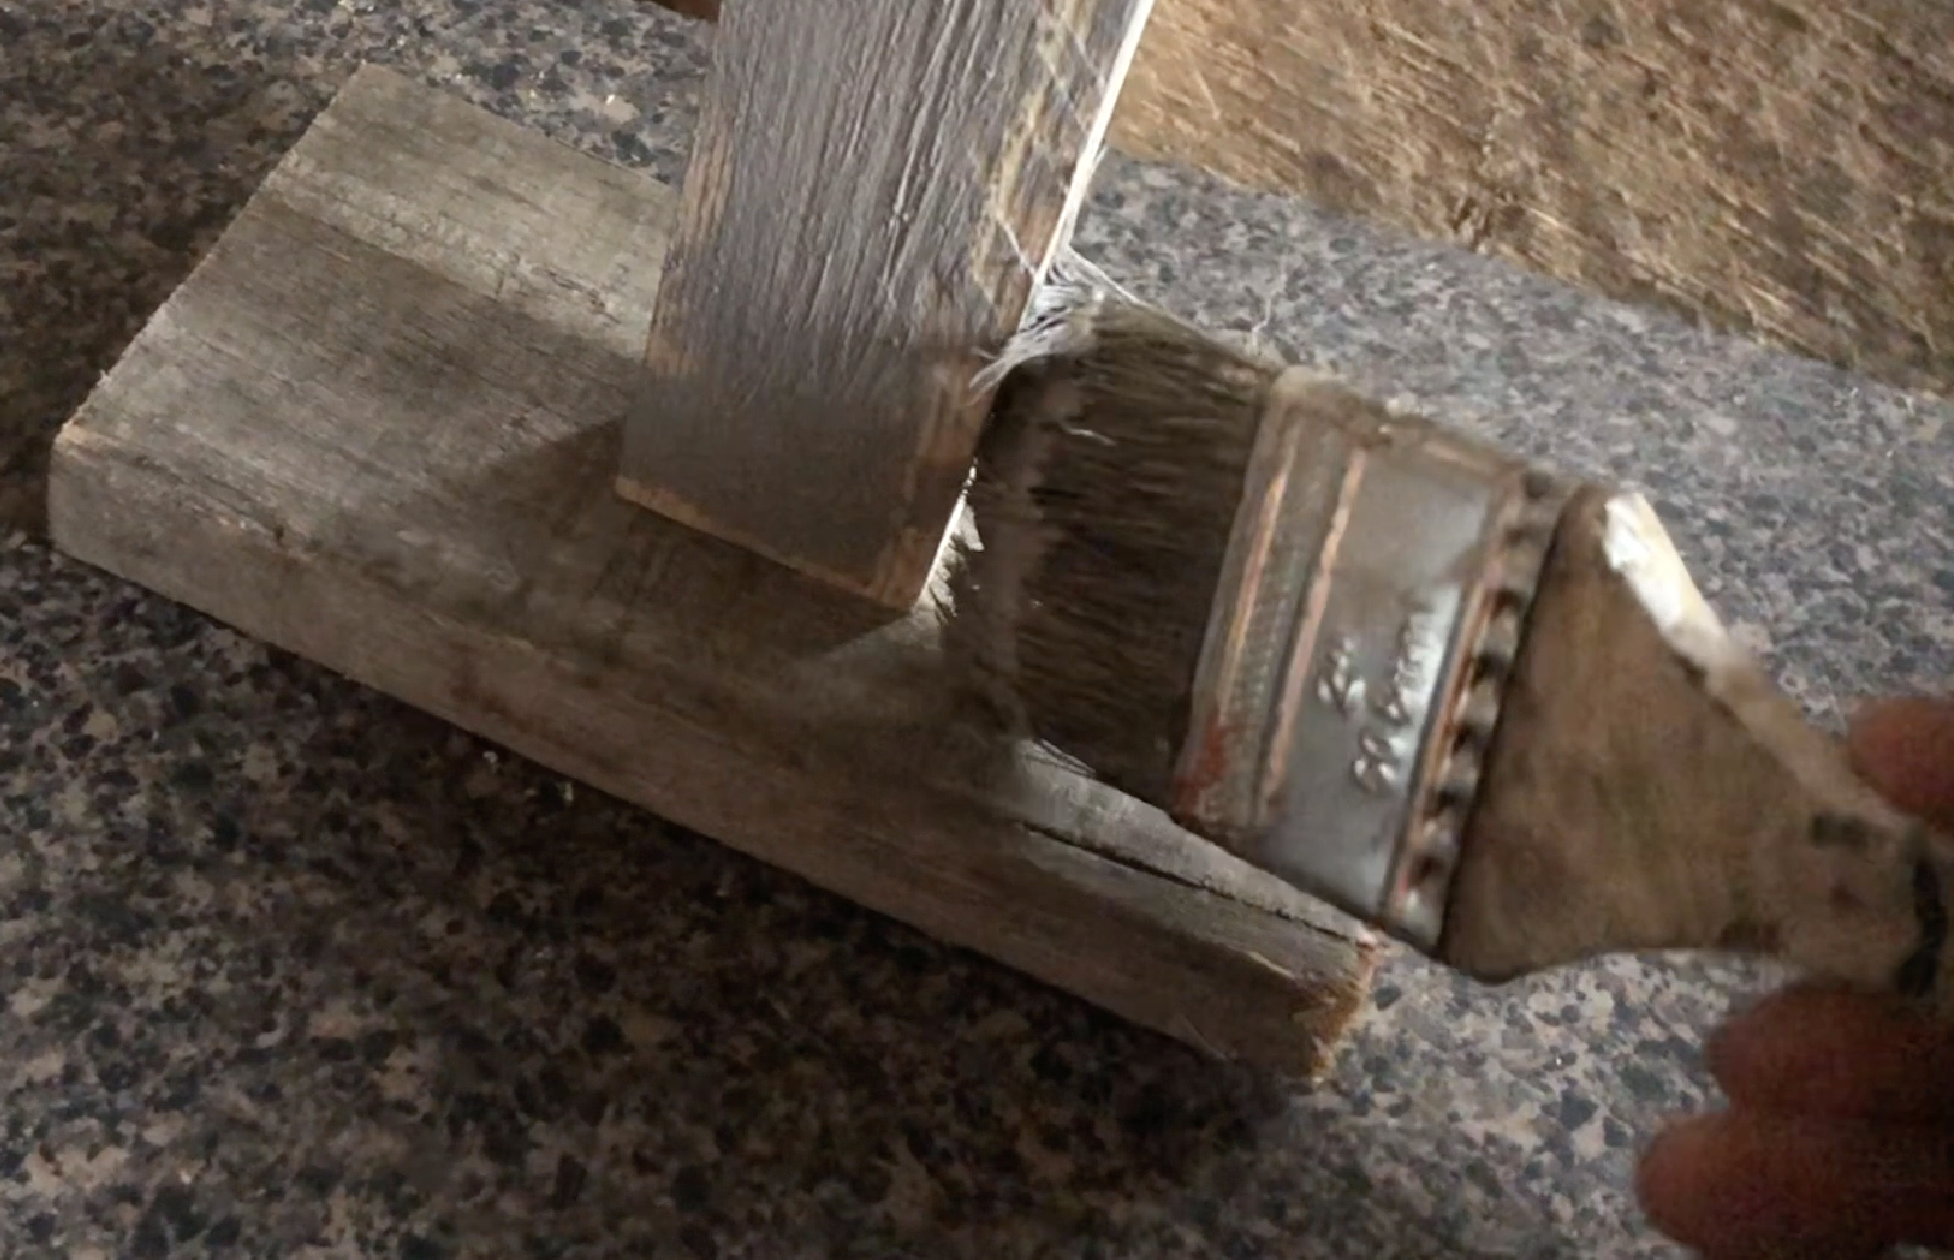
Now, I chose to paint the new thin board that my pallet boards were attached to. In hindsight, I probably should have painted it, before I assembled it, but it still worked out ok.
To give it a weathered look…I painted it with Annie Sloan’s chalk paint. I used 1 part Graphite and 1 part Paris Grey.
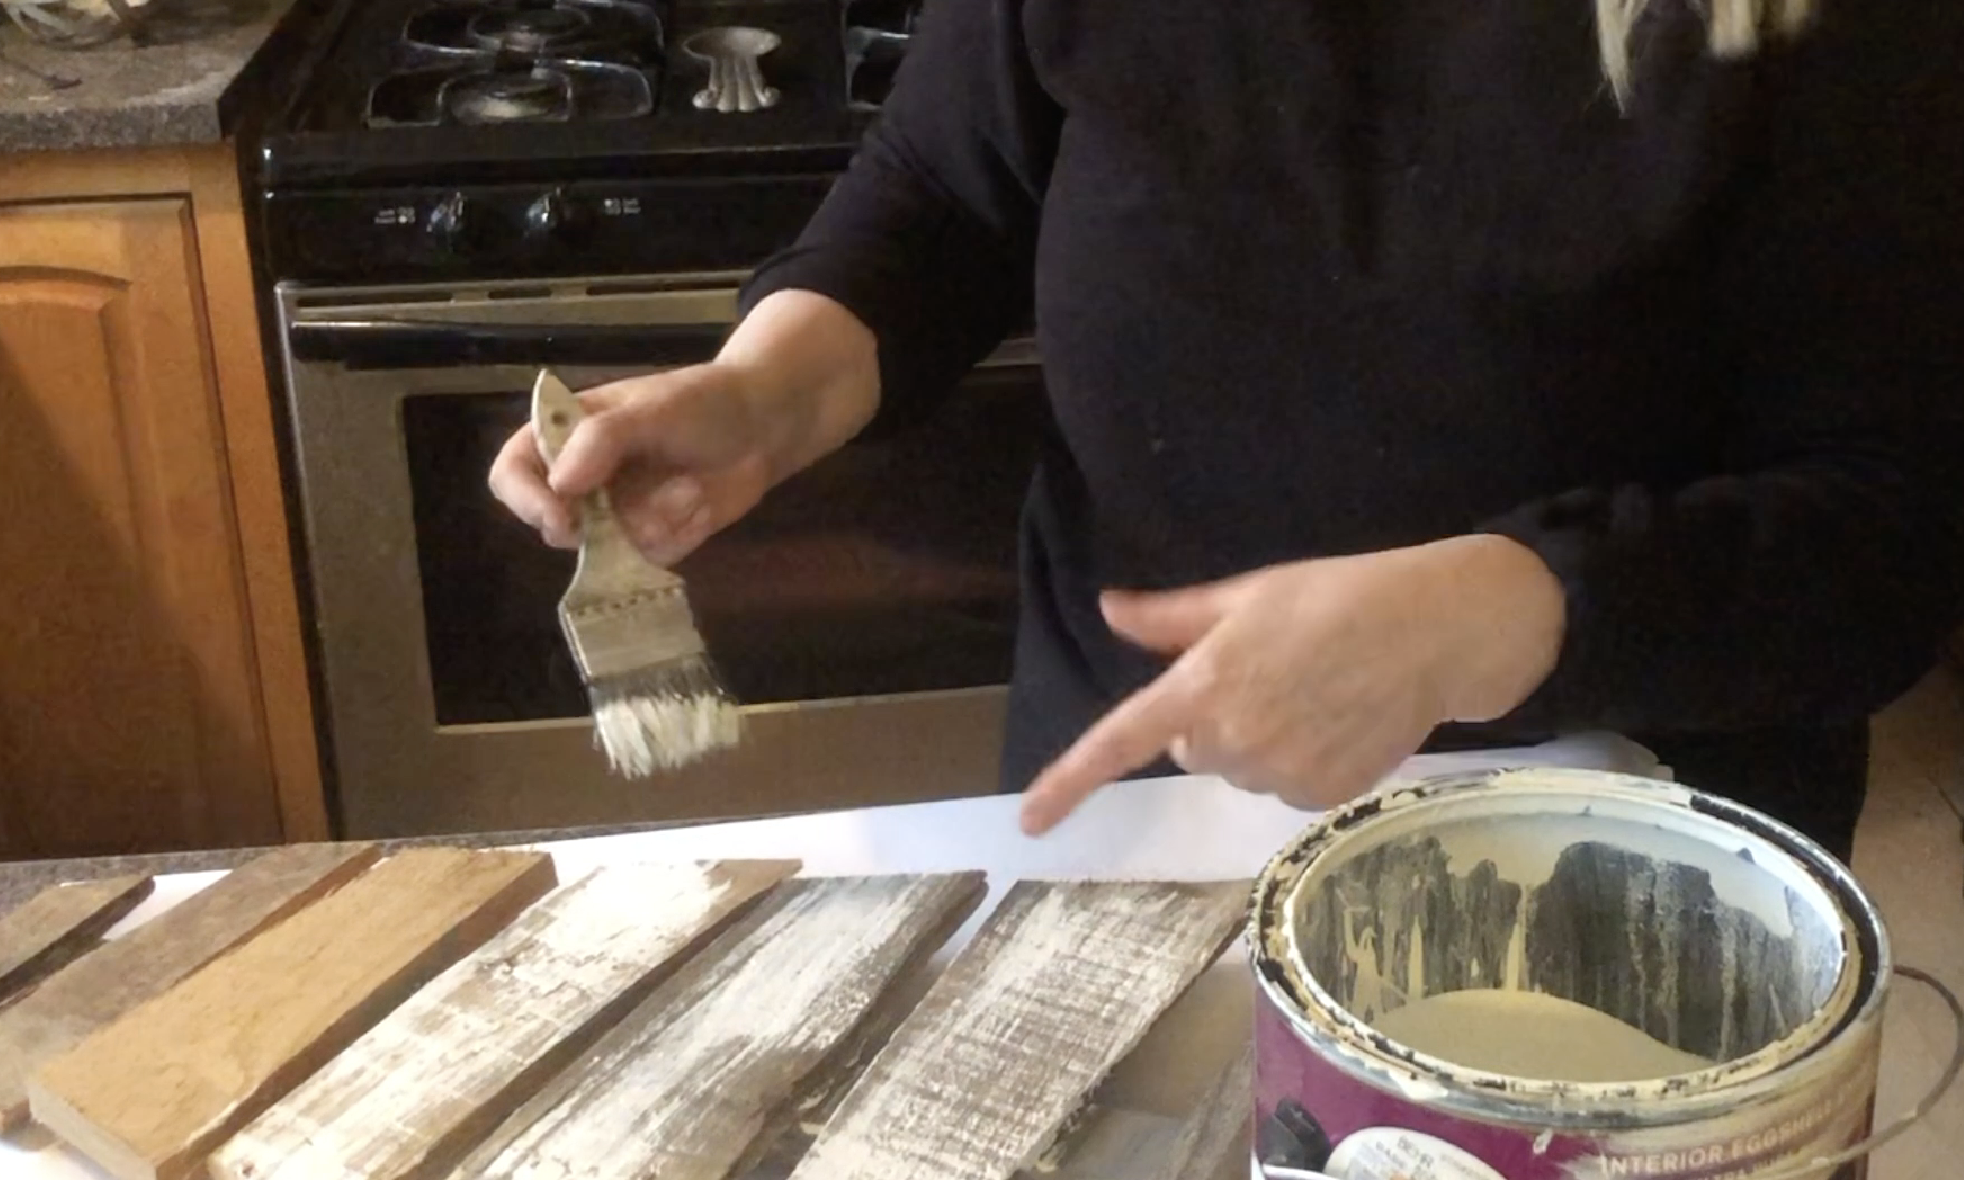
Now, you could leave it like that, at this point…because it looks great natural, however, I wanted mine to have a Vintage chipped up white barn wood type of look.
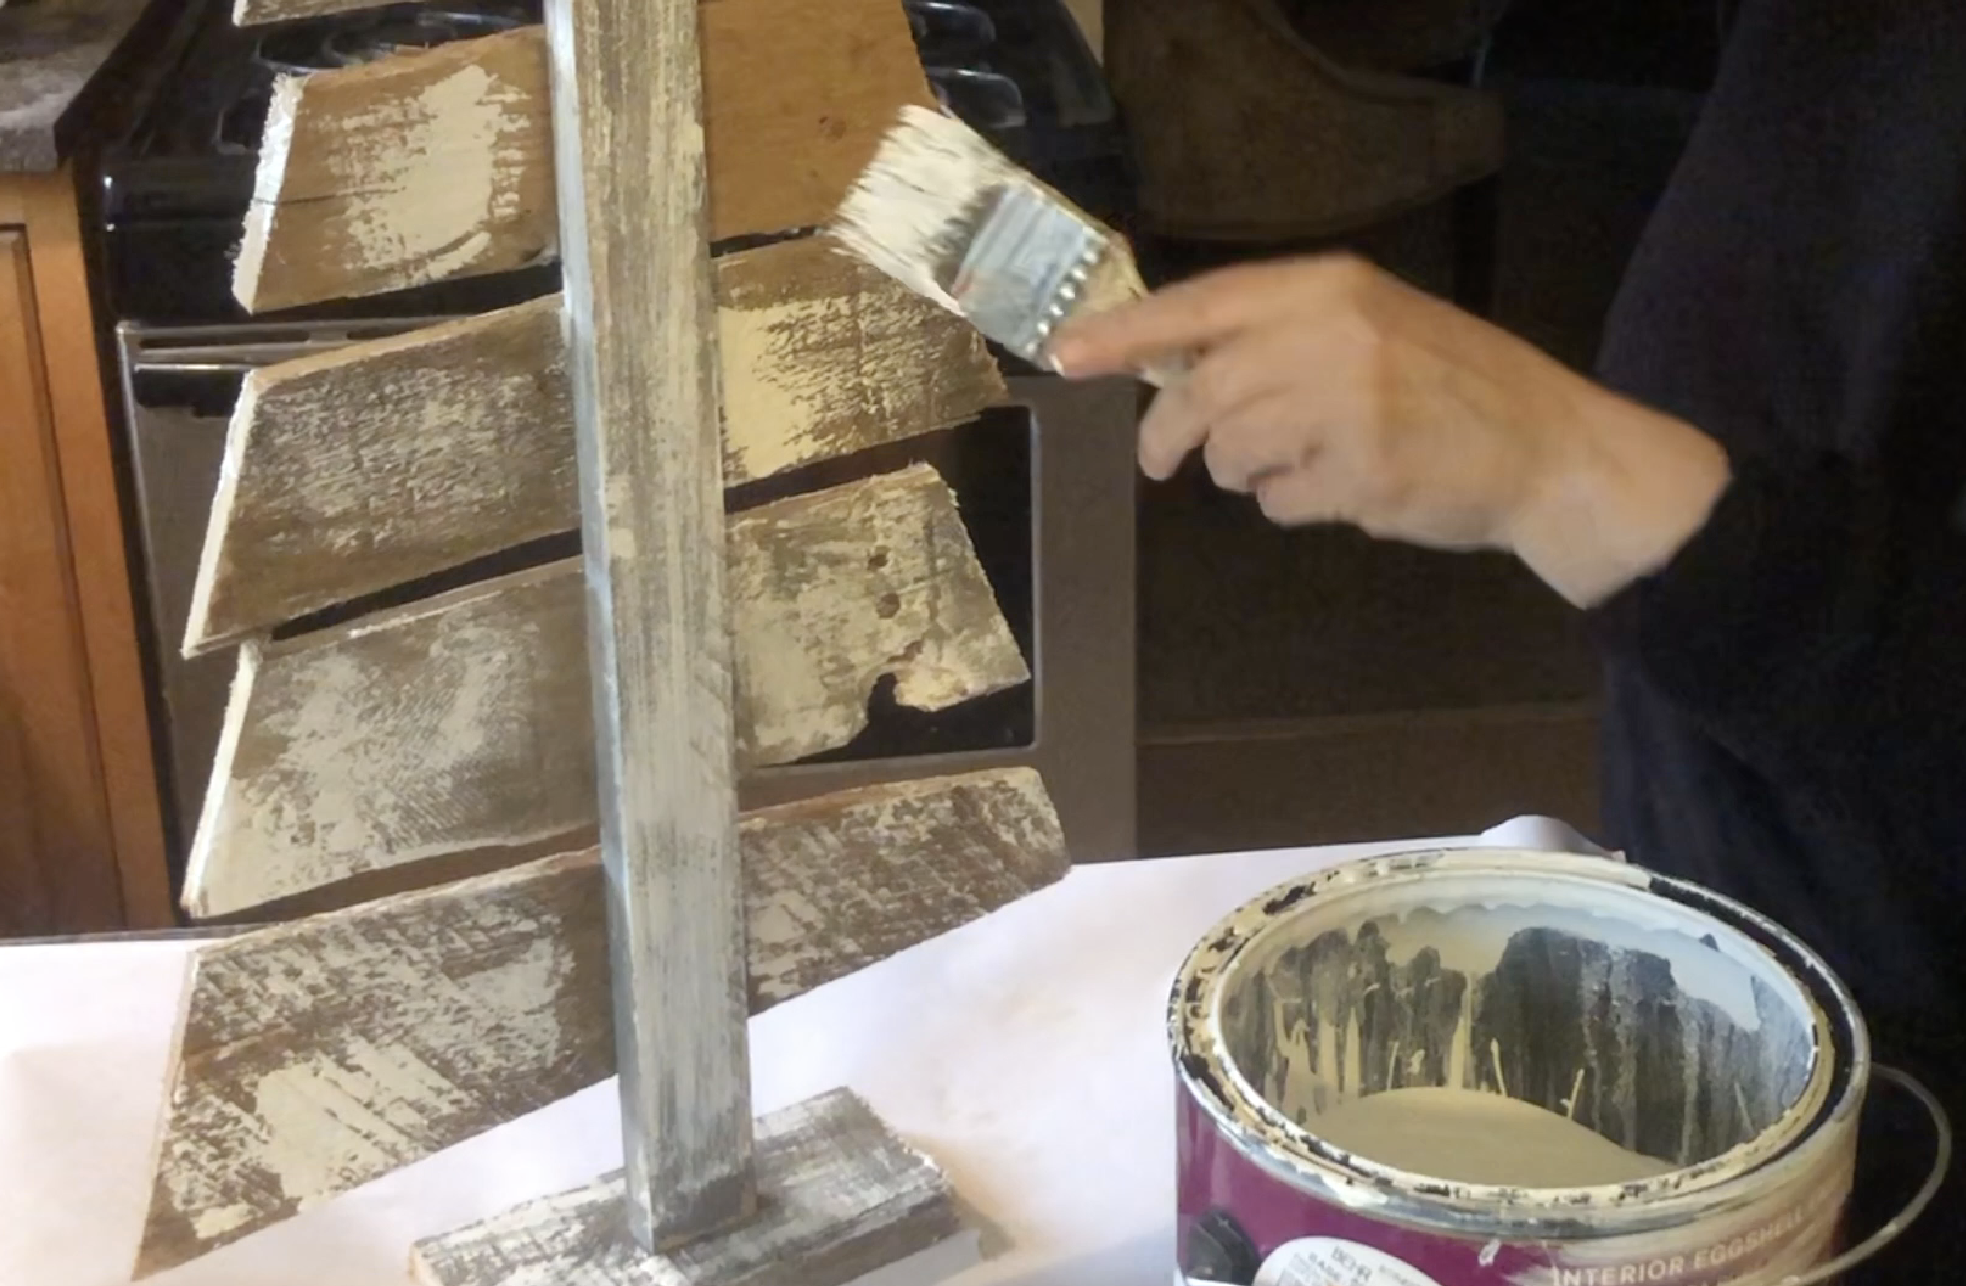
Using some Behr white paint that I had, I went over the boards lightly….making sure to miss spots as I drug the brush across. This is what you want it to look like.
NOTE: You can use whatever white paint you like. Any will work…this is just what I had at hand.
Paint the back the same way, the board that your wood is attached to and the base. That’s it! You’re done! Yay!!!
To watch this tutorial and other projects, go to my YouTube channel at: https://youtu.be/5WfZRKtU66k


