How to make a bench from an Old Bed
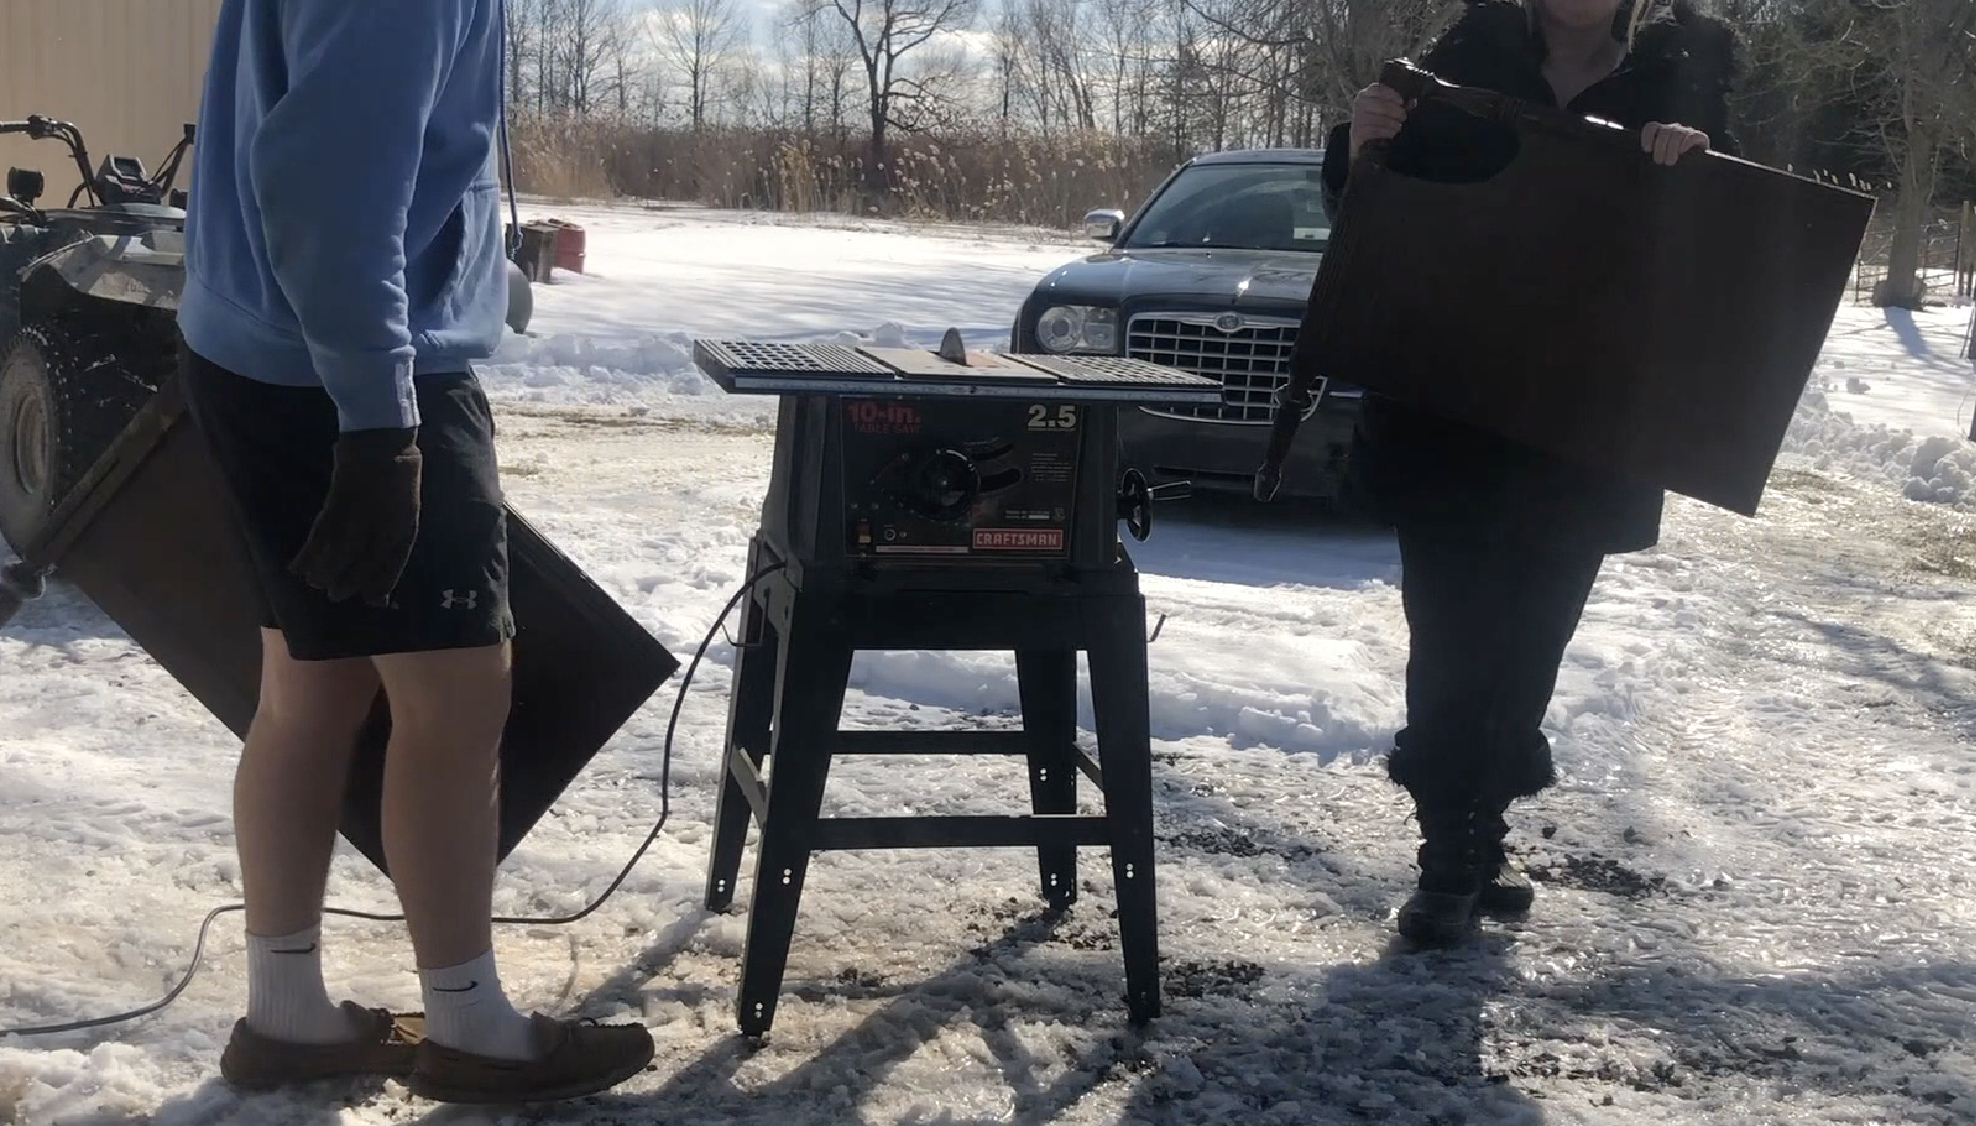
I’ve always wanted to make an bench out of an old bed. Last winter I bought an old bed at the Thrift Store for $19.99. My son helped me the footboard in half on the table saw and that’s where the project just kind of stalled out.
My son and I at the cottage cutting the headboard in half.
And, that’s as far as I got…..there it sat for literally months. That is until just a couple of weeks ago! I was determined to finish it! I had a Vintage market coming up and I wanted to sell it!I started by setting the headboard up outside braced against our post on our deck. (NOTE: It was just me putting it together, so I had no one to hold it upright, while I was working on it.) I took one side of the cut footboard and held that up to the headboard. With a drill, I drilled through the back and into the half cut footboard. You want to pre-drill holes, so that your screw will go in easily and it won’t crack your wood.
I’m pre-drilling holes into the back of the headboard and through the half cut footboard sides.
After the holes were drilled on both sides, I screwed the half cut footboard pieces into the headboard, so they could stand on their own. I then began to work on a frame. I cut 2 x 4’s to fit the inside length of the bed and pre drilled holes for that, as well, on each side.
Cut two 2 x4’s to fit inside the bed frame. Then pre-drill holes on each side for them to attach.
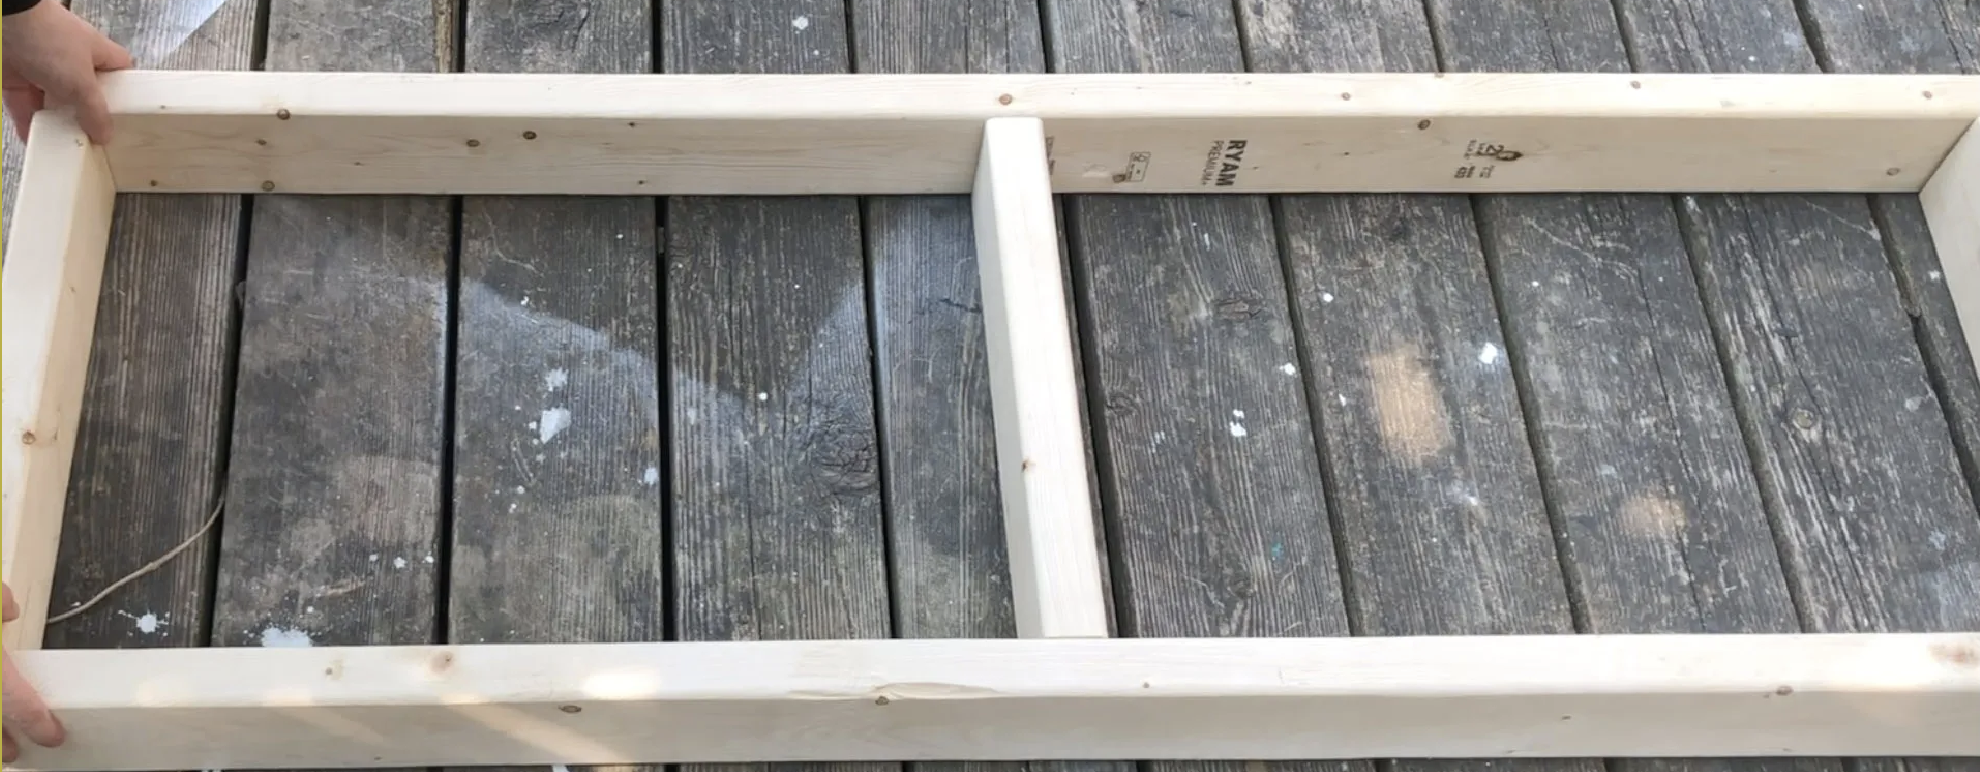
After the holes were drilled for each side of the 2 x 4’s. I put the 2 x 4’s on the deck for assembly. We needed to cut three smaller boards that would help make the frame. NOTE: You can get those sizes, by measuring in between your two longer 2 x 4’s that you pre drilled holes. If you put one in the back, as you see in the photo and one up front to where your bench will start….all you need to do is measure in between those to know how long the inner boards need to be.
Building the frame from 2 x 4’s.
I laid out the frame with the two pre drilled longer boards and the three smaller ones and screwed that together to make the bench seat frame. I then screwed the frame in through the pre drilled holes we made on each side.
This is how your bench should look after you screw the bench seat frame in through pre drilled holes you made on each of the sides.
I cut two 10″ planks of wood to size. I purchased those from Home Depot. These two 10″ wide pieces will sit side by side and will get nailed into the bench frame.
Here’s me cutting one of the 10″ wide planks to size.
I took the two 10″ wide pieces outside and added them on top of the bench seat frame. Then with a nail gun I nailed them into the frame.
Here is the two 10″ wide planks of wood that were cut to size. They are butted up to each other and will get nailed in.
I wanted the front to have a more finished edge, so I took one of the railing and cut it to size to fit the front. That, too will get nailed into the frame.
Now, that the whole bench construction is finished….it’s time for paint! I used Behr Scuff Defense that was color matched to the Annie Sloan Graphite paint color.
Here’s me painting the bench after I assembly was finished.
I think this bench came out just GORGEOUS and it was one of the first things to sell at the Vintage Market that we did! I’m so glad I finished it up, but I have to admit….I almost sorry I sold it. It was absolutely stunning!
Here it is all finished. Just GORGEOUS!
If you’re wanting to make a bench of your own….I have a complete step by step tutorial on YouTube. It shows you more in detail of how to hide your screws, etc.. and you could follow along set by set. Here’s a link: https://youtu.be/Juk-0bRRWWk


